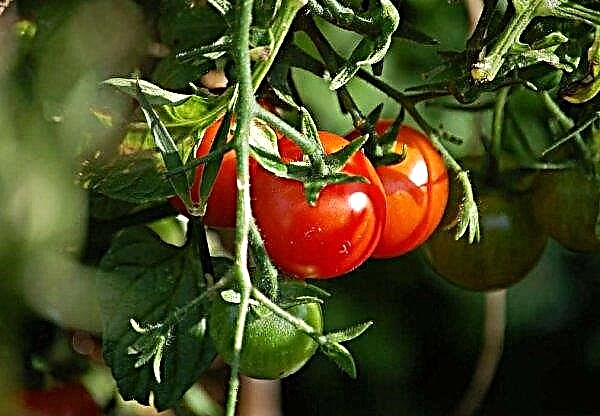
Allocating part of the land for peppers to a plot of land, it is difficult for a gardener to choose a specific variety for cultivation, because there are many varieties for every taste. Learn more about the best varieties of capsicum, how to collect, store and plant their seeds.
Best pepper seeds
In general, varieties of capsicum are divided into sweet and bitter, but even within this division there are varieties of their own. On top of that, there is often confusion with the names when the same variety is called sweet, and bell pepper, and paprika, so this point needs to be clarified when buying.
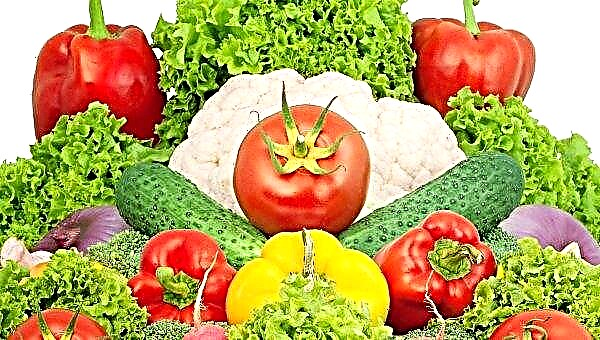
Before purchasing pepper seeds for yourself, you should decide which dishes and preparations you will make from them. For salads, thick-walled juicy sweet varieties are more suitable, for stuffing - small smooth-walled fruits in the form of a cone or cylinder. It is preferable to dry varieties with thin walls and saturated red color.
Did you know? There is more vitamin C in pepper than in lemon and blackcurrant. Most of all it is contained in varieties of red color. In 40 g of this fetus there is a daily norm of vitamin Ascorbic acid.
It is important to pay attention to the method of cultivation (in a greenhouse or open ground, for indoor conditions) and the ripening period (super early, early, middle, late). If you plant varieties with different fruiting periods on the plot, you will be constantly provided with fresh peppers. Among them must be checked zoned varieties. If there is a small land plot or when using tunnel shelters, the size and height of the bush should be taken into account. It is best to dwell on high-yielding, disease-resistant and unpretentious varieties.
Sweet
There are many varieties of sweet pepper with different colors (red, yellow, orange, purple and black). They are thin-walled and thick-walled, with an elongated banana shape, or round, conical, tetrahedral.
Superearly harvest can please the sweet pepper varieties Triton and Dobrynya. Good reviews of pepper from Swiss breeding Lyubov F1 as a very early high-yielding variety of red color and universal purpose.
The best early sweet peppers include:
- Lumina;
- Marinkin Tongue;
- Apricot favorite;
- Ivanhoe;
- Atlant
- Viking
- Sweet banana;
- Shoroksharas;
- Atlantic F1;
- Big Mom;
- Big dad
- Cardinal F1;
- Latino F1;
- Single F1;
- Red Square;
- Orange Wonder F1;
- Bull;
- Fat Baron.
 Positive feedback on such varieties of medium ripening:
- California Miracle;
- Hero;
- Alba
- Swallow;
- Gingerbread man;
- Cowhide ear;
- Gift of Moldova;
- Merchant;
- Novogogoshary;
- Star of the East;
- Belozerka;
- Hercules
- California Miracle;
- Golden California Miracle;
- Yolo is a miracle.
Best late grades:
- Cube F1;
- Night F1;
- Black cardinal;
- Aristotle F1;
- Paris.
Separately, it should be said about hybrids from the Netherlands, which are in great demand among the owners of greenhouses. Their productivity, stability and taste make Dutch varieties of sweet peppers popular, despite the high cost and increased requirements for agricultural cultivation. The best Dutch hybrids include:
- Orange Vander F1;
- Indalo F1;
- Montero F1;
- Pantino F1;
- Jeepsey F1.
Hot chili peppers
These peppers are distinguished by a special group - they differ in a particularly burning taste that capsaicin gives them. Some of them are usually grown at home.
Such chilies are especially popular for growing in an apartment:
- Explosive Amber;
- Christmas bell;
- Light;
- Big fireworks;
- Naga Djolokia;
- Aladdin.
Did you know? The variety Naga Djolokiya was listed in the Guinness Book of Records as the most burning.
Peter Peper, a variety of chili, has an interesting appearance and a very sharp taste - it looks like a penis and is loved to use as an ornamental plant. In greenhouses, they prefer to grow such varieties as:
- Jalapenos
- Serrano
- Cayenne;
- Poblano;
- Anaheim;
- Pasilla;
- Red Savina;
- Habanero Tobago Seasoning.
The latter may have a different color of the fruit - red, yellow, brown, pink. It has a pungent spicy taste with a fruity flavor and is most often used for making sauces.
Not all chilies are very hot. For example, Chile Anaheim has a not very pungent taste and a pleasant fruity-spicy smell, Jalapeno has a spicy-pungent taste, and Padron, Poblano, and Pikillo are the least spicy and are often stuffed with vegetables and meat.
Gorky
This pepper has a sharp or semi-sharp taste. It is readily added to preservation, ketchups, sauces such as adjika. Varieties of early and medium fruiting are usually planted in open ground, and later in greenhouse conditions.
Chilean heat and Cyclone will delight you with a very early harvest.
Early grades include:
- Double abundance;
- Superchill;
- Adjiku;
- Burning bouquet;
- Miracle of Moscow Region;
- Cayenne spicy;
- Fiery bouquet;
- For mother-in-law;
- Fiery maiden;
- The magic bouquet.
 Average time frames:
- Dragon tongue;
- Astrakhan 147;
- Ram's horn;
- Cayenne bitter;
- Indian elephant;
- Beak of a falcon.
Late deadlines:
- Vizier;
- Margellan;
- Tabasco.
Of red
Red bell peppers are often called paprika. In Hungary, these varieties make a popular sweetish seasoning with a small bitterness. Now there are already several varieties of this seasoning, made from different varieties of pepper. They can be either sweet or bitter.
The best red sweet varieties are:
- Bulgarian-79;
- Korenovsky;
- Early round;
- Viking
- Large sweet;
- Gogoshary;
- Triple Star F1;
- Selective North;
- Claudio.
 Sharp varieties include the following:
- Bully;
- Dragon tongue;
- Elephant trunk;
- Astrakhan-147.
How to collect pepper seeds
To collect seeds for the purpose of further planting, only those pepper fruits that meet the following requirements are suitable:
- if the F1 mark is present on the packaging material, this variety is a hybrid and is not suitable for propagation;
- pepper should ripen well;
- the specimen must have a healthy appearance, the correct shape, the right color;
- It is recommended to remove the fruit from 2-3 branches from below.
After choosing suitable specimens for planting, it should be kept at least 2-3 days after collection, but in some cases the time for complete ripening is 14-21 days. When the vegetable becomes slightly soft and slightly wrinkled, you can start removing seeds from it.
First, with a knife, cut out the space around the stem with the tail to extend the seed box and septum. You can just cut the fruit in half. For propagation, seeds that are located in the core are perfect; those located on partitions have lower quality characteristics, and therefore it is not worth taking them for planting.
The selected seeds are dried, evenly spread out on paper. You need to dry well so that they are not raw. As a rule, it takes 3-4 days. The place to dry should be dry and dark. The pulp of pepper after the removal of seed can be used for cooking.
Terms and conditions of storage of planting material
The maximum shelf life of pepper seeds is not more than 5 years. Please note that the shelf life depends on the conditions. If stored at home, the seeds lose their shelf life faster; the storage period in this case is no more than 3 years. Therefore, you do not need to make large stocks.
To store pepper seeds, the following conditions must be observed:
- Humidity: the room should be dry and well ventilated.
- Air temperature: at home should be + 10-12 ° C.
- Lighting: should be absent.
It is better to place the seed material in paper bags or fabric bags indicating the grade and year of collection.
Important! It is not necessary to store seeds at temperatures below 0 ° C, as they may lose their ability to germinate and deteriorate.
To calculate the amount needed for sowing, you should take into account the sowing rate - per 1 sq. m accounts for 0.1 g
How to prepare and plant pepper seeds
Before planting pepper in spring in open ground or a greenhouse, seedlings must be grown.
Important! Not worth it to process seeds in all ways, just select 2-3. For example: selection, disinfection and germination. But the disinfection process it should be aboutcompulsory, since it will allow the plant to be resistant to many diseases.
Gardeners give the following tips for preparing seeds for planting:
- First you should make a selection. To do this, the seeds are placed in a saline solution (35–40 g per 1 liter of liquid), everything is mixed and waiting 7 minutes. Weaker seeds emerge - they are selected and discarded. The rest should be washed, placed on paper and dried.
- Pickling. The seed material is placed in a 1% solution of potassium permanganate for 10-15 minutes. Then it is washed under water and dried.
- Trace Processing. It is done 1-2 days before planting. The seed material is placed in bags of gauze, dipped in a solution with trace elements and allowed to stand for 12-24 hours. Then it must be pulled out and dried. An ash solution can be used for this purpose: it is prepared on the basis of a ratio of 2 g in 1 liter of water and is insisted for 24 hours. There, seeds are lowered for 3 hours in gauze, then washed and dried.
- Soaking and Germination. This process is done when they want to get seedlings early. Pickled seeds are placed on several layers of gauze, moistened a little and placed in a warm place. After about 1-2 days, the seeds begin to germinate.
- Sparging (oxygen treatment). This method of soaking and germination is carried out 7-14 days before planting. To carry it out, 2/3 of room temperature water is poured into a deep bowl, the seed is thrown there and the tip of the aquarium compressor is placed. Seeds can withstand 1–1.5 days, then they are taken out and dried.
- Hardening. Spend it in two ways. The first is that immediately after disinfection, the seed material is placed in warm water, and when the seeds absorb moisture and swell, they are moved to a cool place (air temperature 1-2 ° C) for 1-1.5 days, after which they are dried. The second method - for 10–12 days, the swollen seeds are exposed to a temperature difference: first, they are kept for 12 hours at 20–25 ° С, and then half a day at 2–5 ° С.
 Treated seeds are planted in the ground, performing the following steps:
- You can buy ready-made soil for planting this plant crop, or you can cook it yourself. To do this, you need to take the components in the following ratio - 40% humus or compost, 40% peat, 20% washed river sand. For disinfection, the soil is calcined in the oven (half an hour at + 70–90 ° C).
- The disinfectant landing container must be washed with a solution of manganese and pour prepared soil there, which is compacted so that it is 2 cm lower from the edge of the container.
- Place there with tweezers seed material with an interval of 1.5–2 cm. This will allow the sprouts not to obscure each other. Top with soil 1–2.5 cm.
- The soil should be lightly compacted and then carefully watered so that the seed material does not wash out onto the surface.
- It is recommended to put marks with the name of the variety.
- Sowing should be covered with a package for 1-2 days or placed in a greenhouse or other place where you can maintain the temperature at + 25 ° C.
- When sprouts appear on days 5–7, you need to move the container to a well-lit place with a temperature of + 15–17 ° С.
 Properly selected seed material will help you enjoy this delicious vegetable crop for a long time and make various dishes and preparations from it.

